
Hair removal can be tedious, painful, expensive, and time-consuming depending on the method you use.
Not only that, but using at-home hair removal solutions was not commonplace until a new crop of options like sugar wax came onto the scene to challenge that notion.
Whether you want to get rid of hair on your body or face temporarily or permanently, using sugar wax to do it is a far superior method to buying a shaving cream or going for a wax at your spa.
Sugaring works by removing the root of the hair follicle, rendering its blood supply lower and weakens the follicle over time.
This way, you’ll get less hair growth and ultimately smooth, hairless skin that lasts up to four to six weeks.
While many people use lemon juice to prepare their own homemade sugar wax because its acidity helps stop the sugar from hardening, it’s not the only ingredient that can do that.
There are other alternatives to lemon juice that can help you achieve the same result.
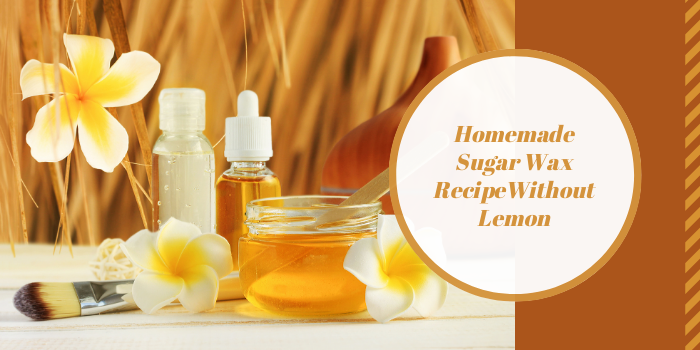
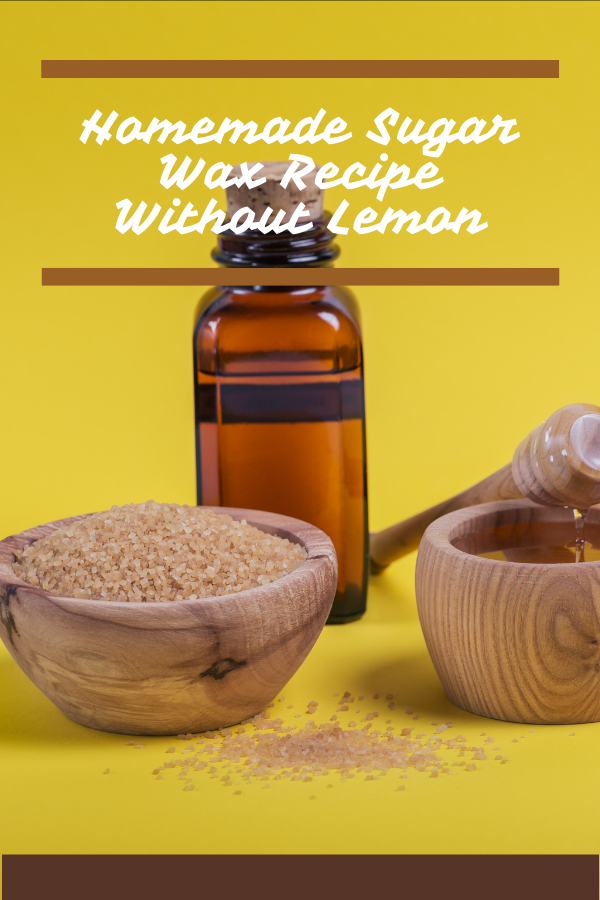
This guide describes a homemade sugar wax recipe without lemon, some tips to help you prepare the sugar wax, and how you can care for your skin afterward.
What Is Sugaring And How It Works
Sugaring is a hair removal process that involves using a sticky, gel-like paste usually made up of sugar, water, and lemon. These ingredients make the paste natural and safe to use as there are no chemical additives included in the mixture.
The sugar wax can be applied to the top layer of the skin and it won’t pull your live skin cells or stick to the top layer, unlike other waxing methods that break the hair at the surface.
Instead, sugar wax removes the hair from the root without attaching to the skin, which makes it less painful too.
How To Make Homemade Sugar Wax Without Lemon
Standard waxing and sugaring are usually compared to one another.
However, sugaring is generally preferred among those who want to remove hair on larger areas of their skin.
The sugar paste that makes sugar wax can be applied at room temperature or you can heat it slightly to be lukewarm and reduce the risk of getting skin burns.
If you have sensitive skin, sugar wax may result in skin reaction and irritation, but you can take an antihistamine to prevent this, otherwise, sugar on its own is hypoallergenic.
There are some subtle yet distinct comparisons between professional and home-based sugar pastes.
Most of the products you find at the store contain wax, while homemade sugar wax tends to use sugar and natural ingredients such as lemon or orange juice and others.
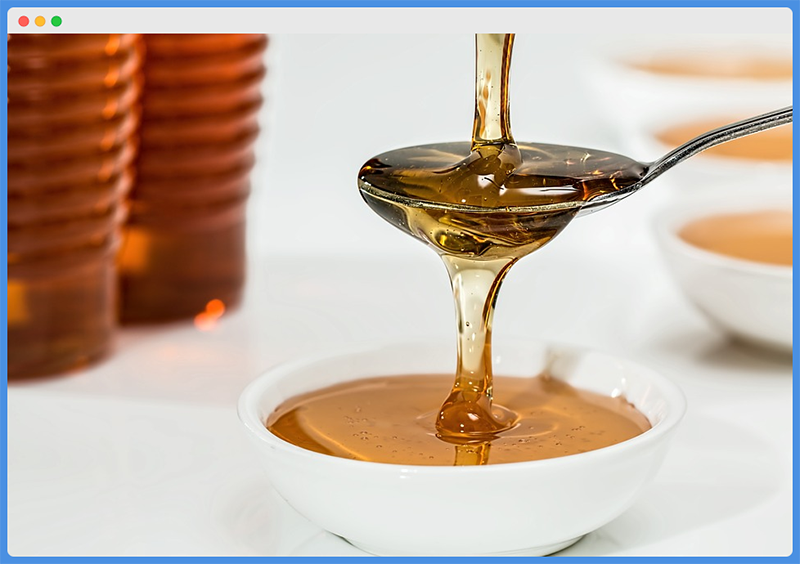
Sugaring paste can also include molasses, honey, and cornstarch, with other must-have ingredients include water, sugar, and lemon juice.
While lemon juice is acidic, which makes it useful when making sugar wax to prevent the sugar from hardening into candy, not everyone can get lemon juice and some prefer a milder agent.
Plus, there’s a need for the right consistency when making the paste, and this takes some time and practice if you’re making it at home instead of buying the pre-made sugar paste that may contain guar gum.
To get started with making your own homemade sugar wax without lemon, you’re going to need some common household ingredients, which we’ve already mentioned but list again below:
- Warm water
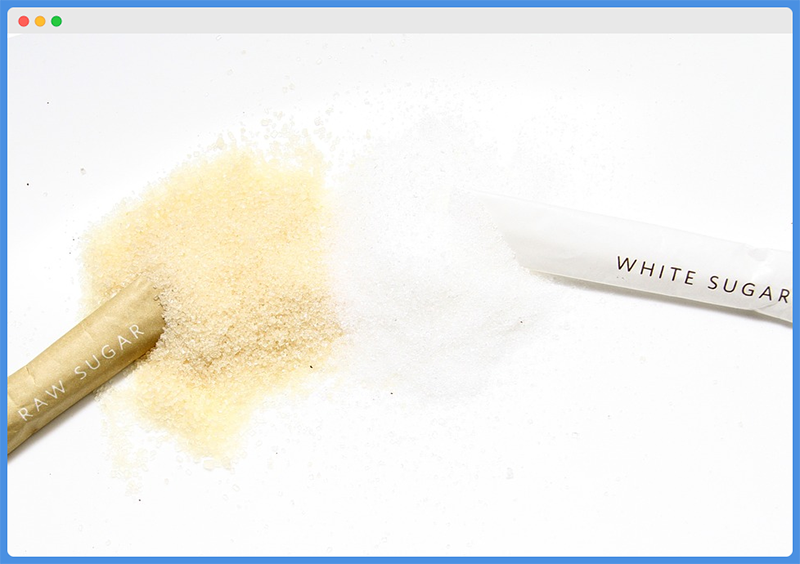
- White sugar
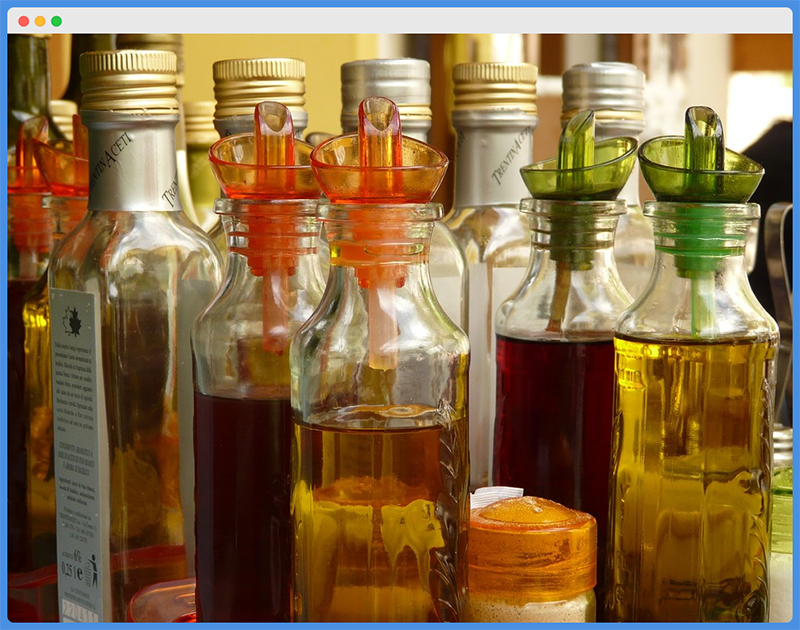
- Apple cider vinegar
- Lime juice
- Honey/Cornstarch/Molasses
- Salt
Let’s look at three different recipes you can use to make homemade sugar wax without lemon.
Recipe 1: Homemade Sugar Wax Recipe With Vinegar
This homemade sugar wax recipe doesn’t use lemon but you’ll replace the lemon juice with white or apple cider vinegar. Any of the two types of vinegar can work.
Ingredients
- 1 cup white sugar
- 2 teaspoons of white or apple cider vinegar
- Half teaspoon salt
- 1/5 cup of warm water
- 5 drops of lavender essential oil
Instructions
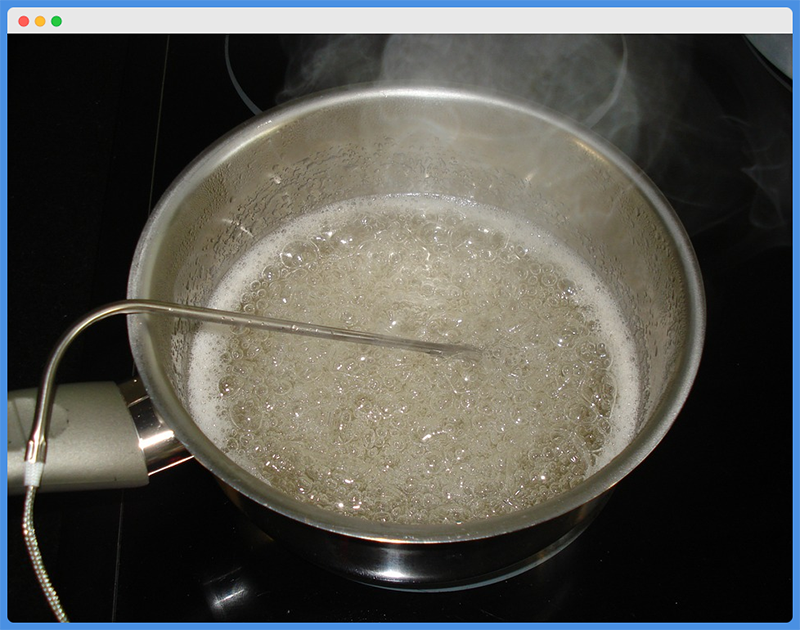
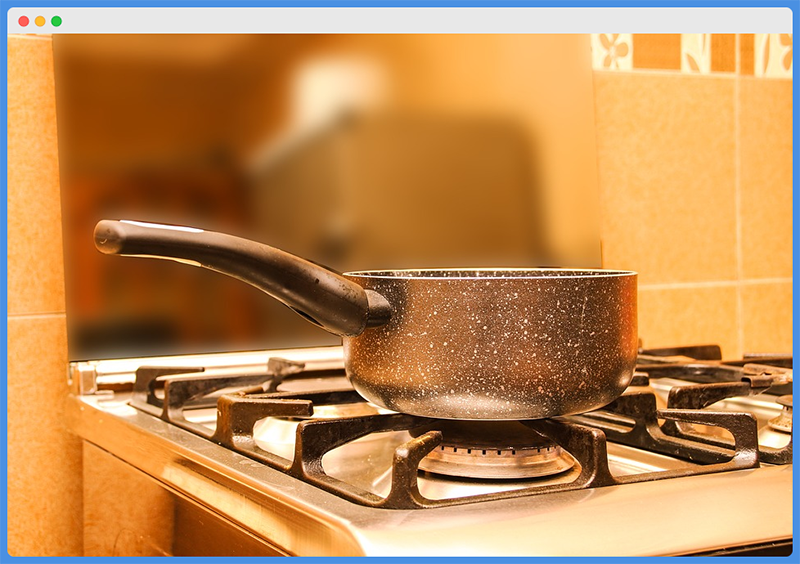
- To get started, get a non-stick pan and place it on your stovetop. Add the water, white sugar, and vinegar to the pan.
- Heat your pan over a medium-low flame and stir the ingredients together using a wooden stick until they form a thick mixture.
- Next, squirt some water onto your kitchen’s countertop using a spray bottle to create a thin film of water. You can also use a baking pan if your countertop isn’t spacious enough.
- Check the mixture as it boils and bubbles but use your wooden stick to stir it for about five minutes until it thickens. Make sure the heat is low to prevent the mixture from burning.
- Once the mixture is gold in color, pour it on the water film you squirted on your baking pan or kitchen top.
- Next, use a spoon to push the golden syrup inwards from the edges to the center and form a ball. This needs to happen fast enough to prevent the mixture from hardening.
- Wet your hands and pick up the ball you’ve formed, but make sure you do this carefully as it could burn your skin.
- Pull and stretch the ball and wet your hands often for more grip until you form a soft and pliable sugar wax. Do this for about 15 minutes and then pull off a piece from the ball to keep it for use.
- Wrap the ball in cling film and store it in your refrigerator.
Recipe 2: Homemade Sugar Wax Recipe With Lime Juice
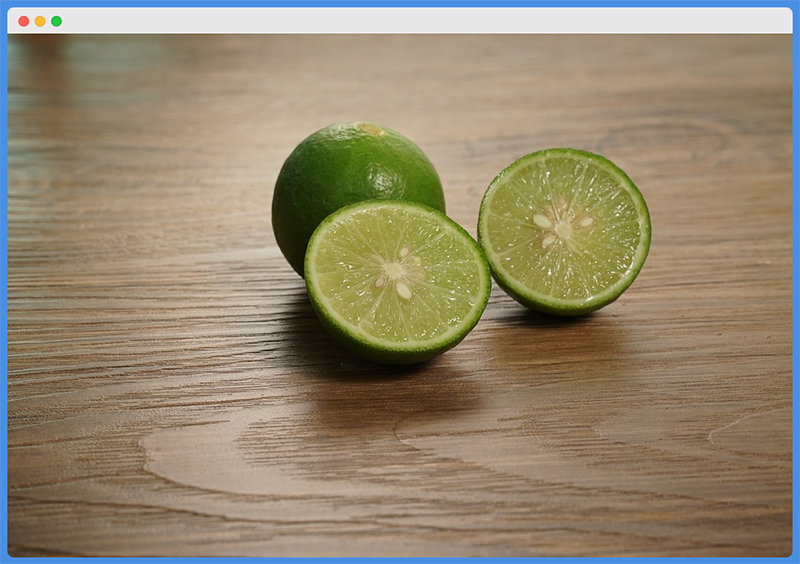
This homemade sugar wax recipe doesn’t use lemon but you’ll replace the lemon juice with white or apple cider vinegar.
Any of the two types of vinegar can work.
Ingredients
- 1 cup white sugar
- 2 tablespoons lime juice
- 1 teaspoon salt
- 2 tablespoons of warm water
- 5 drops of lavender essential oil (for scent)
Instructions
- To get started, get a non-stick pan and place the water, sugar, salt, and lime juice. Turn on the heat and set it to medium-low so it doesn’t burn.
- Next, use a wooden stick to stir the mixture and keep stirring until the mixture begins to boil with bubbles. Once it begins to turn golden brown, stop stirring and turn off the heat to allow it to cool down.
- Pour water into the container as the sugar wax cools and then store it away in a cool dry place.
Once you make the sugar wax, you’ll find that your pots will be sticky and hard to clean and eliminate when the remaining wax hardens.
To wash your pots, put hot water in the pot, add some washing-up liquid, and cover the inside of the pot. Leave it for a while and then clean the pot as usual.
If the wax is still there after washing, pour some water in the pot and heat it up to melt the wax, then wash the pot normally.
Tips To Help You Get The Ideal Homemade Sugar Wax
There are several ingredients to make the homemade sugar wax recipe but it’s not often that you get the perfect mixture.
For this reason, we’ll share some tips for making the ideal sugar wax recipe with or without lemon juice.
Use White Sugar
Most recipes recommend using white sugar, but you can also use brown sugar. White sugar is preferred over brown because when stirring the mixture in the pan over medium-low heat, it’s easier to see the color change.
Plus, brown sugar tends to make the sugar wax too dark and hardens quickly.
Replace Lemon With Vinegar Or Lime Juice
If you look at most sugar wax recipes, the main agent used to prevent the mixture from hardening is lemon juice.
However, as we’ve already seen, you can use vinegar – white or apple cider – or lime juice as alternatives when you don’t have lemon juice.
Use Medium And Low Heat
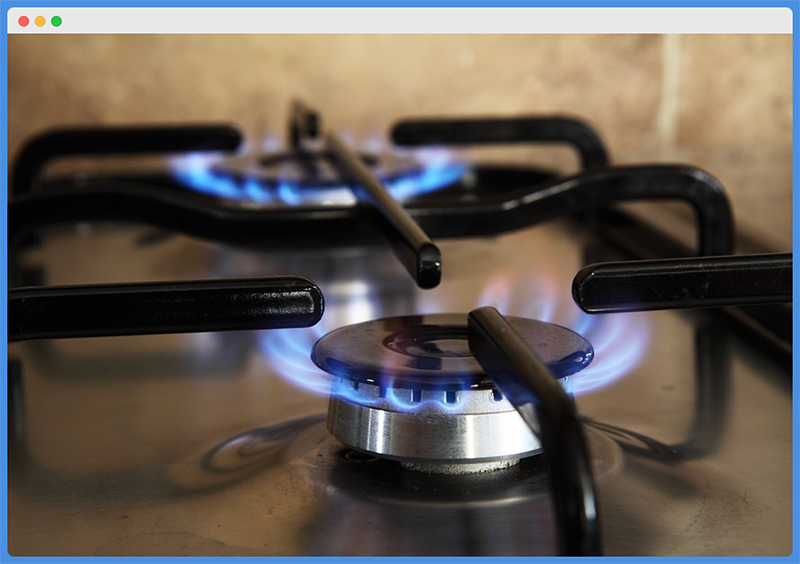
You can use medium to low heat, but when you start out, it’s recommended that you set the heat to medium until the mixture begins to boil and bubble (or simmer). After this, you can set the heat to low.
For example, if you’re using a stove, you can start at level 4 then reduce it to level 2 once the mixture simmers.
Heat To Golden Brown Color
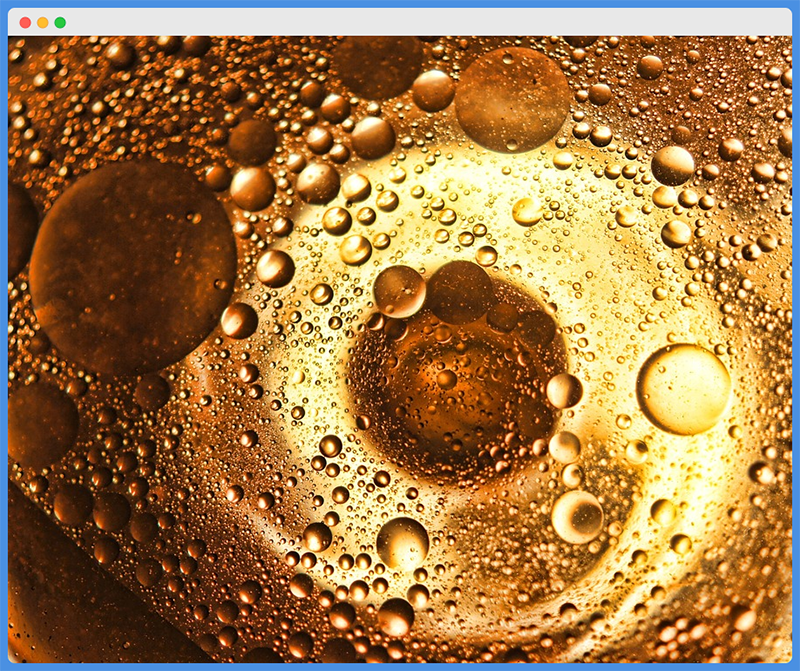
The sugar wax mixture needs to heat until it becomes a golden brown color, which is similar to the color of honey.
Depending on the amount of heat and time taken to stir, you’ll see the golden brown color, after which you can remove the sugar wax from the stove.
Use Heat Resistant Equipment When Cooling The Wax
Most homemade sugar wax recipes recommend using a non-stick pan to heat the mixture, but once the mixture boils and turns golden brown, transfer it to a heat-resistant container.
This is because the mixture is usually very hot and can burn the surface upon which you place it. A baking pan is a good place to start if you don’t have a good kitchen countertop.
Cool To Lukewarm Or Room Temperature
The sugar wax mixture is hot when it comes from the boil, but it’s always advisable to allow it to cool to a lukewarm temperature before you apply it to your skin.
If the mixture turns solid while heating it, you can add a tablespoon of water, heat it for about 10-20 seconds in your microwave and let it cool before using it.
The sugar wax can burn your skin, which is why it’s advisable to allow it to cool down first. However, if you do burn your skin, take some cold water immediately and pour it on the affected spot.
You can also apply Aloe Vera gel, rub ice, cold milk, or a slice of cold cucumber to soothe and relieve the skin.
Store The Wax In A Cool Dry Place or Refrigerator
Once your sugar wax is ready, you don’t have to use it right away. You can store it in a cool dry place or keep it in the refrigerator.
When you’re ready to use it on your skin, warm it for a few seconds in your microwave until it melts, and then allow it to cool down again before applying it to your skin.
Apply When Your Skin Is Ready
Before you wax your skin using homemade sugar wax, check the wax temperature to make sure it’s not too hot.
Also, make sure you’re not allergic to the ingredients used, and then exfoliate two days before you wax your skin.
It’s also important to note that you shouldn’t shower two hours before waxing as your skin may become extra sensitive.
If you have varicose veins, broken skin, rashes or you’re allergic to any ingredients, don’t use the sugar wax.
How To Use The Homemade Sugar Wax On Your Body
Sugar wax can be used on some parts of the body. Some of the common areas include the arms, underarms, legs, and bikini area.
If you have delicate skin, you can still use sugar wax on any part of the body including the abdomen and toes.
However, if you have an active skin disease like eczema or folliculitis in any of these areas, avoid using sugar wax as it can exacerbate the problem.
When sugaring at home, get some baby powder and spread it over the area you want to wax in order to eliminate any moisture that may prevent the wax from adhering to the hair on your skin.
Make sure the sugar wax is applied in the opposite direction that your hair grows.
Spread the wax evenly, hold the skin tight and then rip the wax off quickly. For any hairs that didn’t come off, use tweezers to get rid of them.
Note: Your hair needs to be about a half-inch long depending on how fast it grows.
However, you can sugar wax about 10 to 14 days after your last shave.
Once you’re done waxing your skin, soak a ball of cotton in some olive oil and rub it on the waxed area to get rid of the stickiness of waxing. Do this until the area is smooth.
Homemade Sugar Wax Aftercare
Sugaring is an easy and straightforward treatment, but you need to note some things when it comes to aftercare.
To begin with, you need to allow your skin to breathe, and if you intend to get a wax, avoid working out or sitting in a tub or anything with high heat.
After sugaring, you need to exfoliate to avoid ingrown hair.
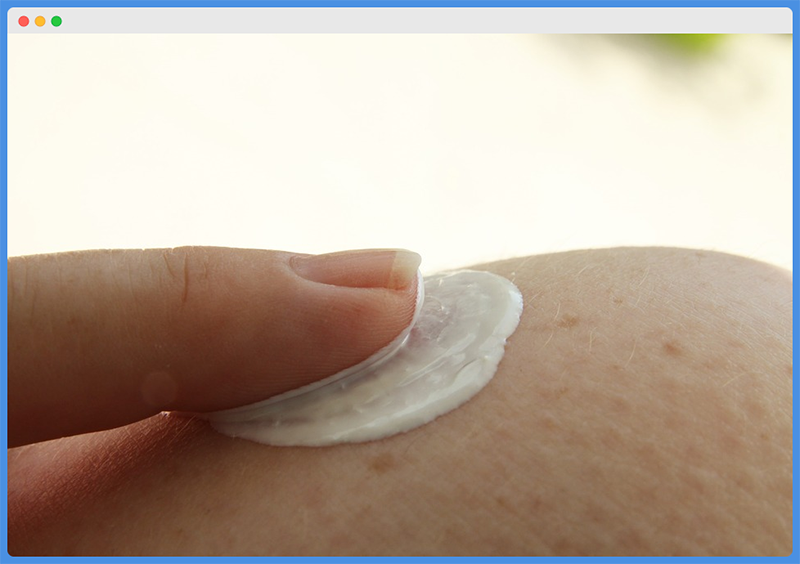
You can use salicylic acid for exfoliation, but you can also use aloe or vitamin E to moisturize the skin and reduce inflammation as well as the chances of infection.
If there’s any wax residue on your skin, you can use warm water, a dab of coconut oil, or skin wax remover and a washcloth.
You can also apply cold-pressed aloe vera gel or an antiseptic cream one or two days after the sugar wax.
The reason why you need to soothe your skin after waxing is to prevent any bumps, irritation, and ingrown hairs.
Avoid using perfume or regular lotion after waxing your skin. Also, consider staying indoors immediately after waxing and stay off your regular workout routine after waxing to keep any sweat off your skin.
Benefits And Risks Of Homemade Sugar Wax
Homemade sugar wax is easy to make especially if you have all the ingredients readily available.
On top of that, you gain more benefits such as lower costs compared to going to a spa or salon to get waxed, whose costs vary depending on the body part.
Plus, you have better ingredients compared to using professionally made waxes that may contain additives, chemicals, and dyes that may irritate your skin.
Homemade sugar wax also ensures you have more privacy because doing it at the spa may make you feel shy or awkward, depending on the body part you’re waxing.
While homemade sugar wax offers multiple benefits, it doesn’t come without risks. You could accidentally burn your skin or end up removing the skin instead of the hair.
Plus, homemade waxing stations are less sanitary compared to professional waxing salons, whose stringent practices help avoid the spread of infections.
Wrapping Up
Homemade sugar wax is more affordable to make and use compared to getting a salon wax.
You can make it with three simple ingredients, including lemon, but if you don’t want to use lemon or don’t have it, vinegar or lime juice will still work.
Disclaimer: While homemade wax is ideal for use on your skin, we’d like to put a disclaimer that the materials we’ve shared in this article are only for general information purposes and don’t constitute medical or professional advice on the subject matter, or any other subject.
Skin reactions can still be caused by cosmetics containing natural ingredients, so make sure you know what you’re applying to your skin. Use any homemade recipes at your own risk and/or consult your physician before using them.
Enjoyed Homemade Sugar Wax Recipe Without Lemon? Share it with your friends so they too can follow the MyBodyExpert journey.
Share on Pinterest

Diana Paul is a certified nutritionist who writes for leading health blogs. She is a master herbalist, yoga teacher, forager, and wild-crafting writer She is focused on helping people transform life blocks to opportunities. Based in NYC, she often holds health seminars and lectures.